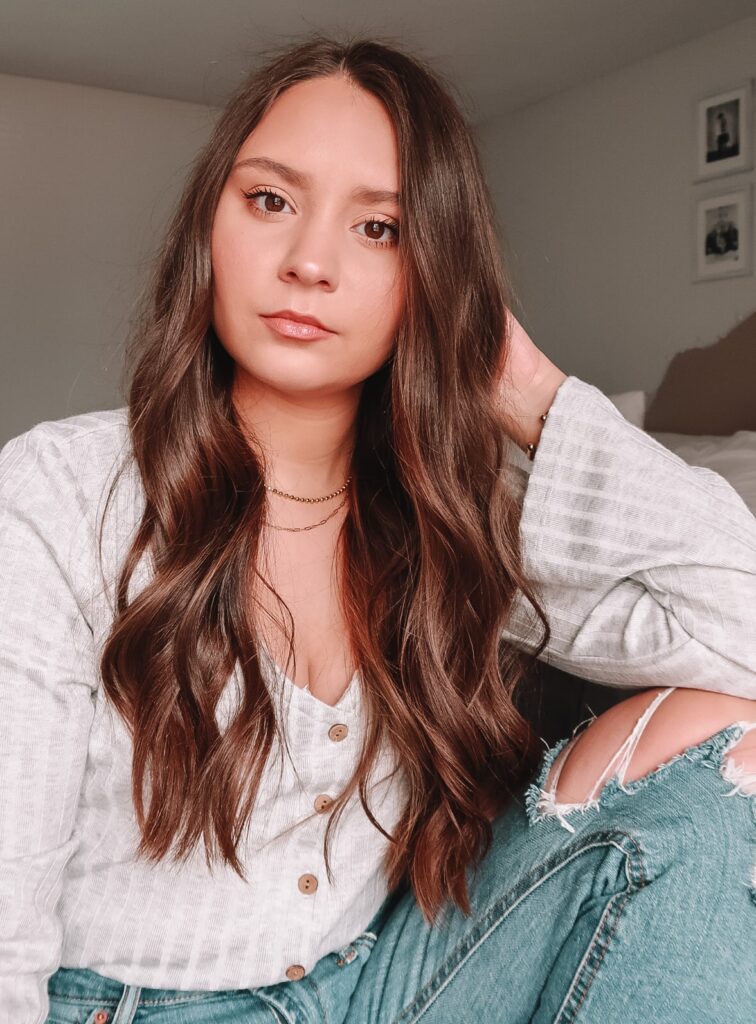
One thing I have been asked about since High School is how I curl my hair to get my everyday waves.
I’ve never loved the look of tight ringlet curls, so when I was young I watched an endless amount of YouTube videos on different techniques to curl my hair for the perfect tousled, natural-looking waves I could wear every day.
Now that it’s summer and waves are the perfect summer hairstyle, I thought it would be a great time to share how I get my everyday waves.
Once I got my technique down… It became so second nature I never thought anyone would want to know the how-to.
But, since I have always been asked by my friends, I figured why not share it with you guys! Below I am sharing a step-by-step hair tutorial for my loose everyday waves.
Step One: Prep Time
I like to start with fresh, clean hair.
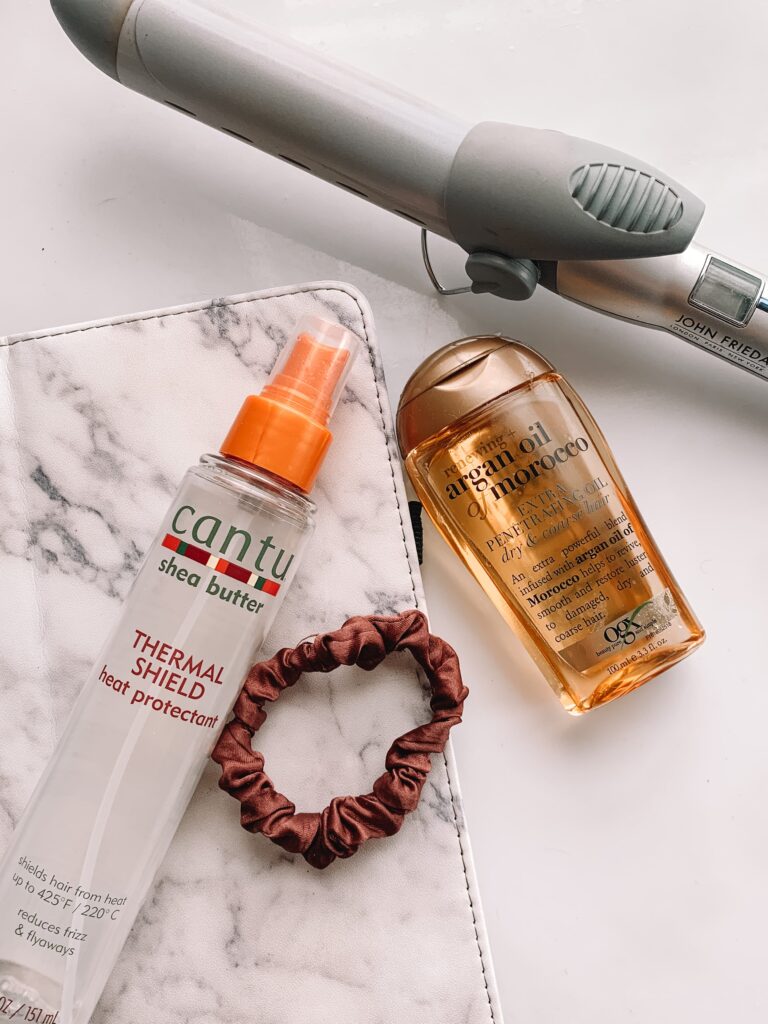
After showering and washing my hair, I will apply hair oil to damp hair before letting it air dry.
Sometimes I like to blow dry my hair if I want the curls to last long, or to add lots of volume and texture to my hair.
Then once dry I will apply a heat protectant to the length of my hair. I love this one because it smells so yummy and makes your hair shiny.
Step Two: Section & Iron
Next, I section off my hair using these satin scrunchies from Amazon.
When doing my everyday waves I like to use a 1” -1 ¼” curling iron, with a clamp. I vary this depending on how tight I want my waves to be that day.
Over the years, I’ve used a bunch of different brands of curling irons and my two favorites that I have tried so far are the basic Conair ones, which are great for only being like 10 bucks and the John Frieda one.
Step Three: Curl
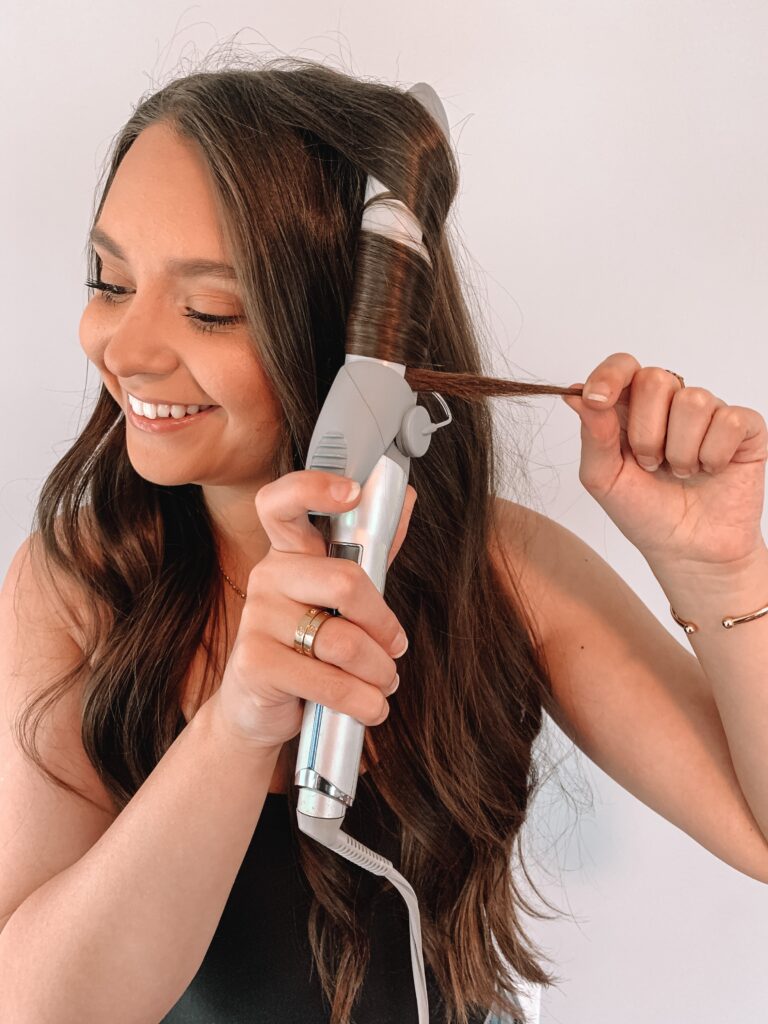
When I curl my hair, I start a few inches from the crown of my head and use the clamp to curl my hair away from the face.
It’s important to leave about an inch and half of the ends out of the iron, to achieve the look of effortless, beachy waves. I like to vary the section size of my hair, so it doesn’t look so perfect.
I hold the hair for about four to ten seconds depending on the size of the section of the hair.
Pro tip: Once the time has passed, I pull the curling iron down the hair. This will loosen the curl and make them look beachy.
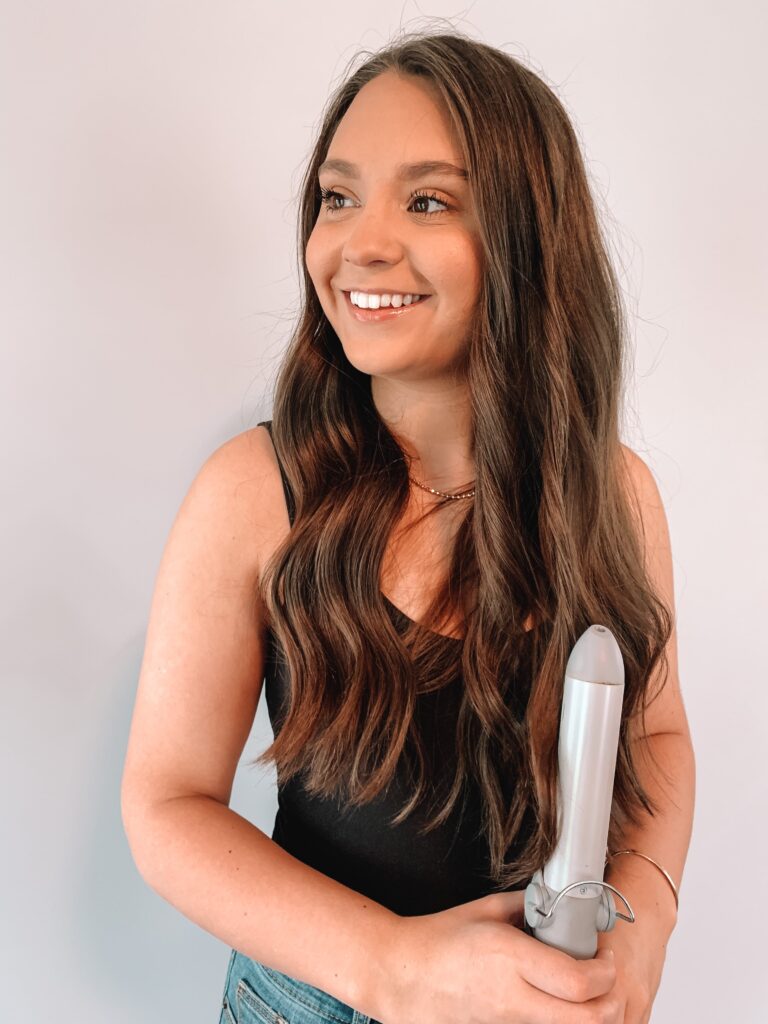
Step Four: The Finished Product:
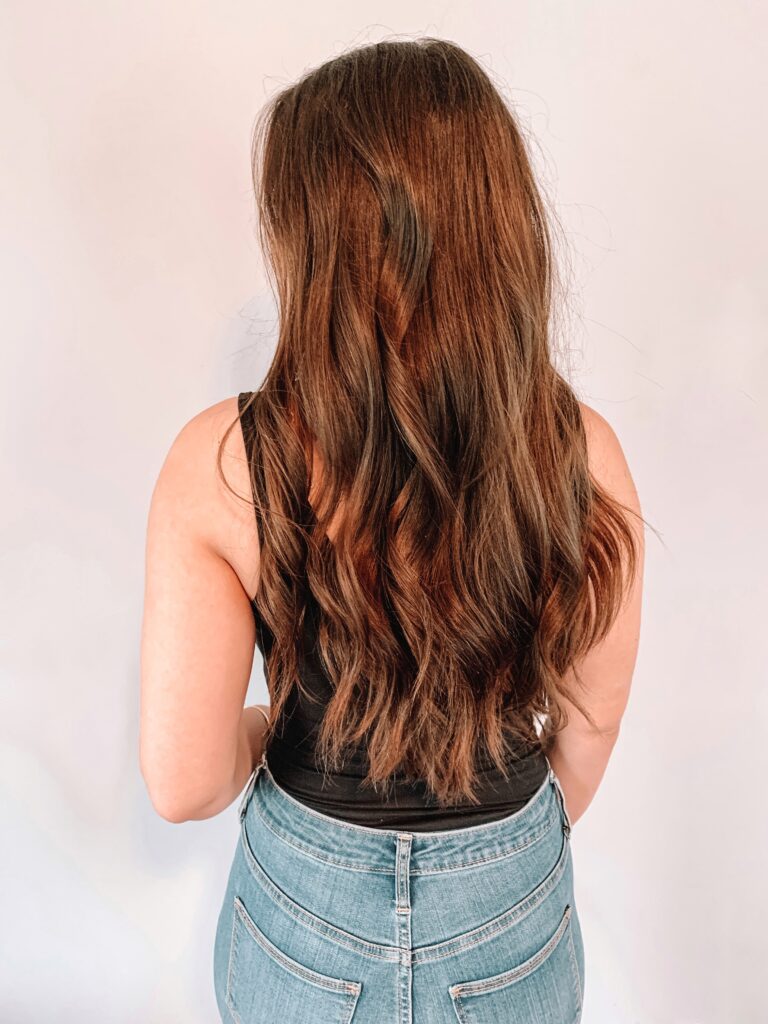
I let the curls set by not touching them until they are cool and doing a few sprays of hairspray.
Once the hair is cool, I flip my head over and use my fingers to gently tousle the hair.
I like to just move the hair around to break up the curls rather than run my fingers through it so the curls don’t flatten out too much.
To add volume I will either use some hairspray while my head is flipped on the underside of my hair or use a beach sea salt spray to really amp up the beachy wave look. If my hair is extra frizzy that day, I will run a little bit of hair oil throughout the hair to finish.
I hope this everyday wave hair tutorial was helpful and provided you an easy step-by-step guide on how to achieve this effortless style.
What styles do you girls want to see next? Leave a comment!
XX,